Setting the Node.js Version for an Azure DevOps Build
I recently ran into a Node.js version issue in one of my Azure DevOps build pipelines. The build step executing yarn install failed with the following error message:
error [email protected]: The engine "node" is incompatible with this module. Expected version ">=8.6". Got "6.17.0"
Here's what the error looks like within the Azure DevOps web UI:
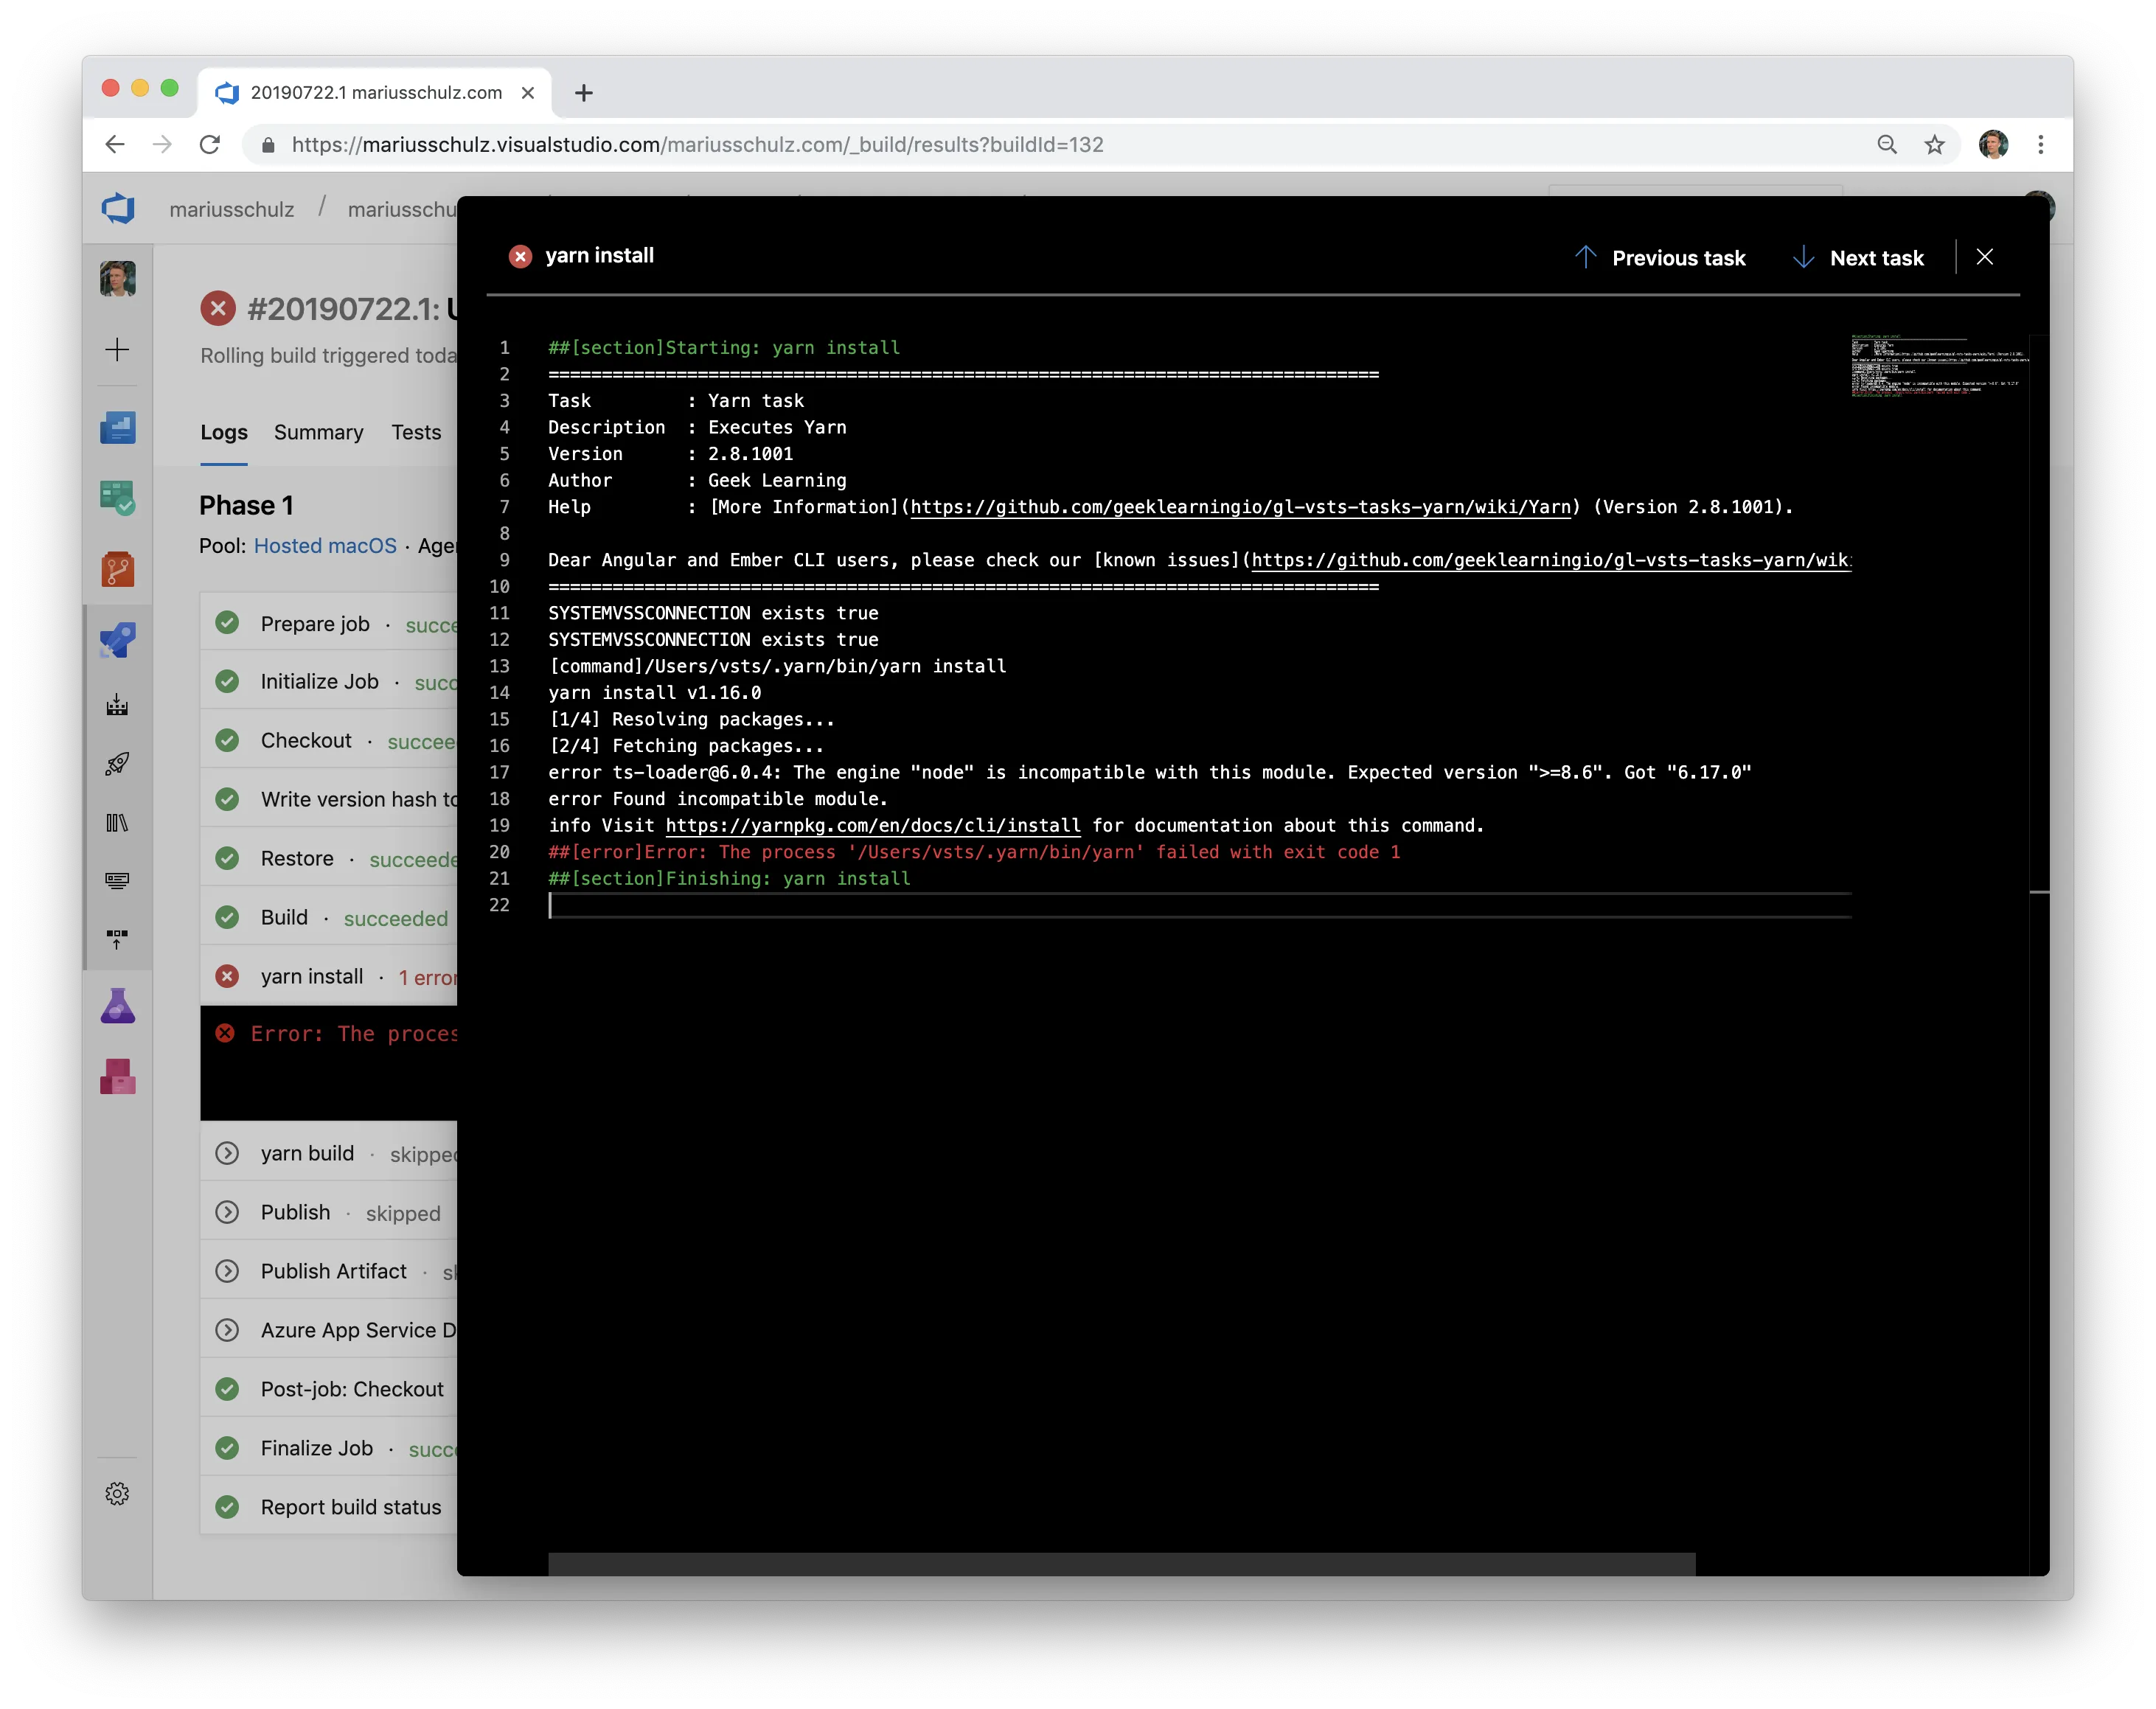
Shortly before running into the Azure DevOps build error, I had upgraded all my project's client-side dependencies to the latest versions. One of these dependencies is the ts-loader npm package, a TypeScript loader for webpack. I upgraded ts-loader to version 6.0.0 which dropped support for Node.js <8.6.
This new version requirement broke the build in Azure DevOps because the build agent only had Node.js version 6.17.0 installed. Luckily, this versioning issue is easy to fix by adding the "Node.js tool installer" task to the build pipeline.
Adding the Node.js Tool Installer Task #
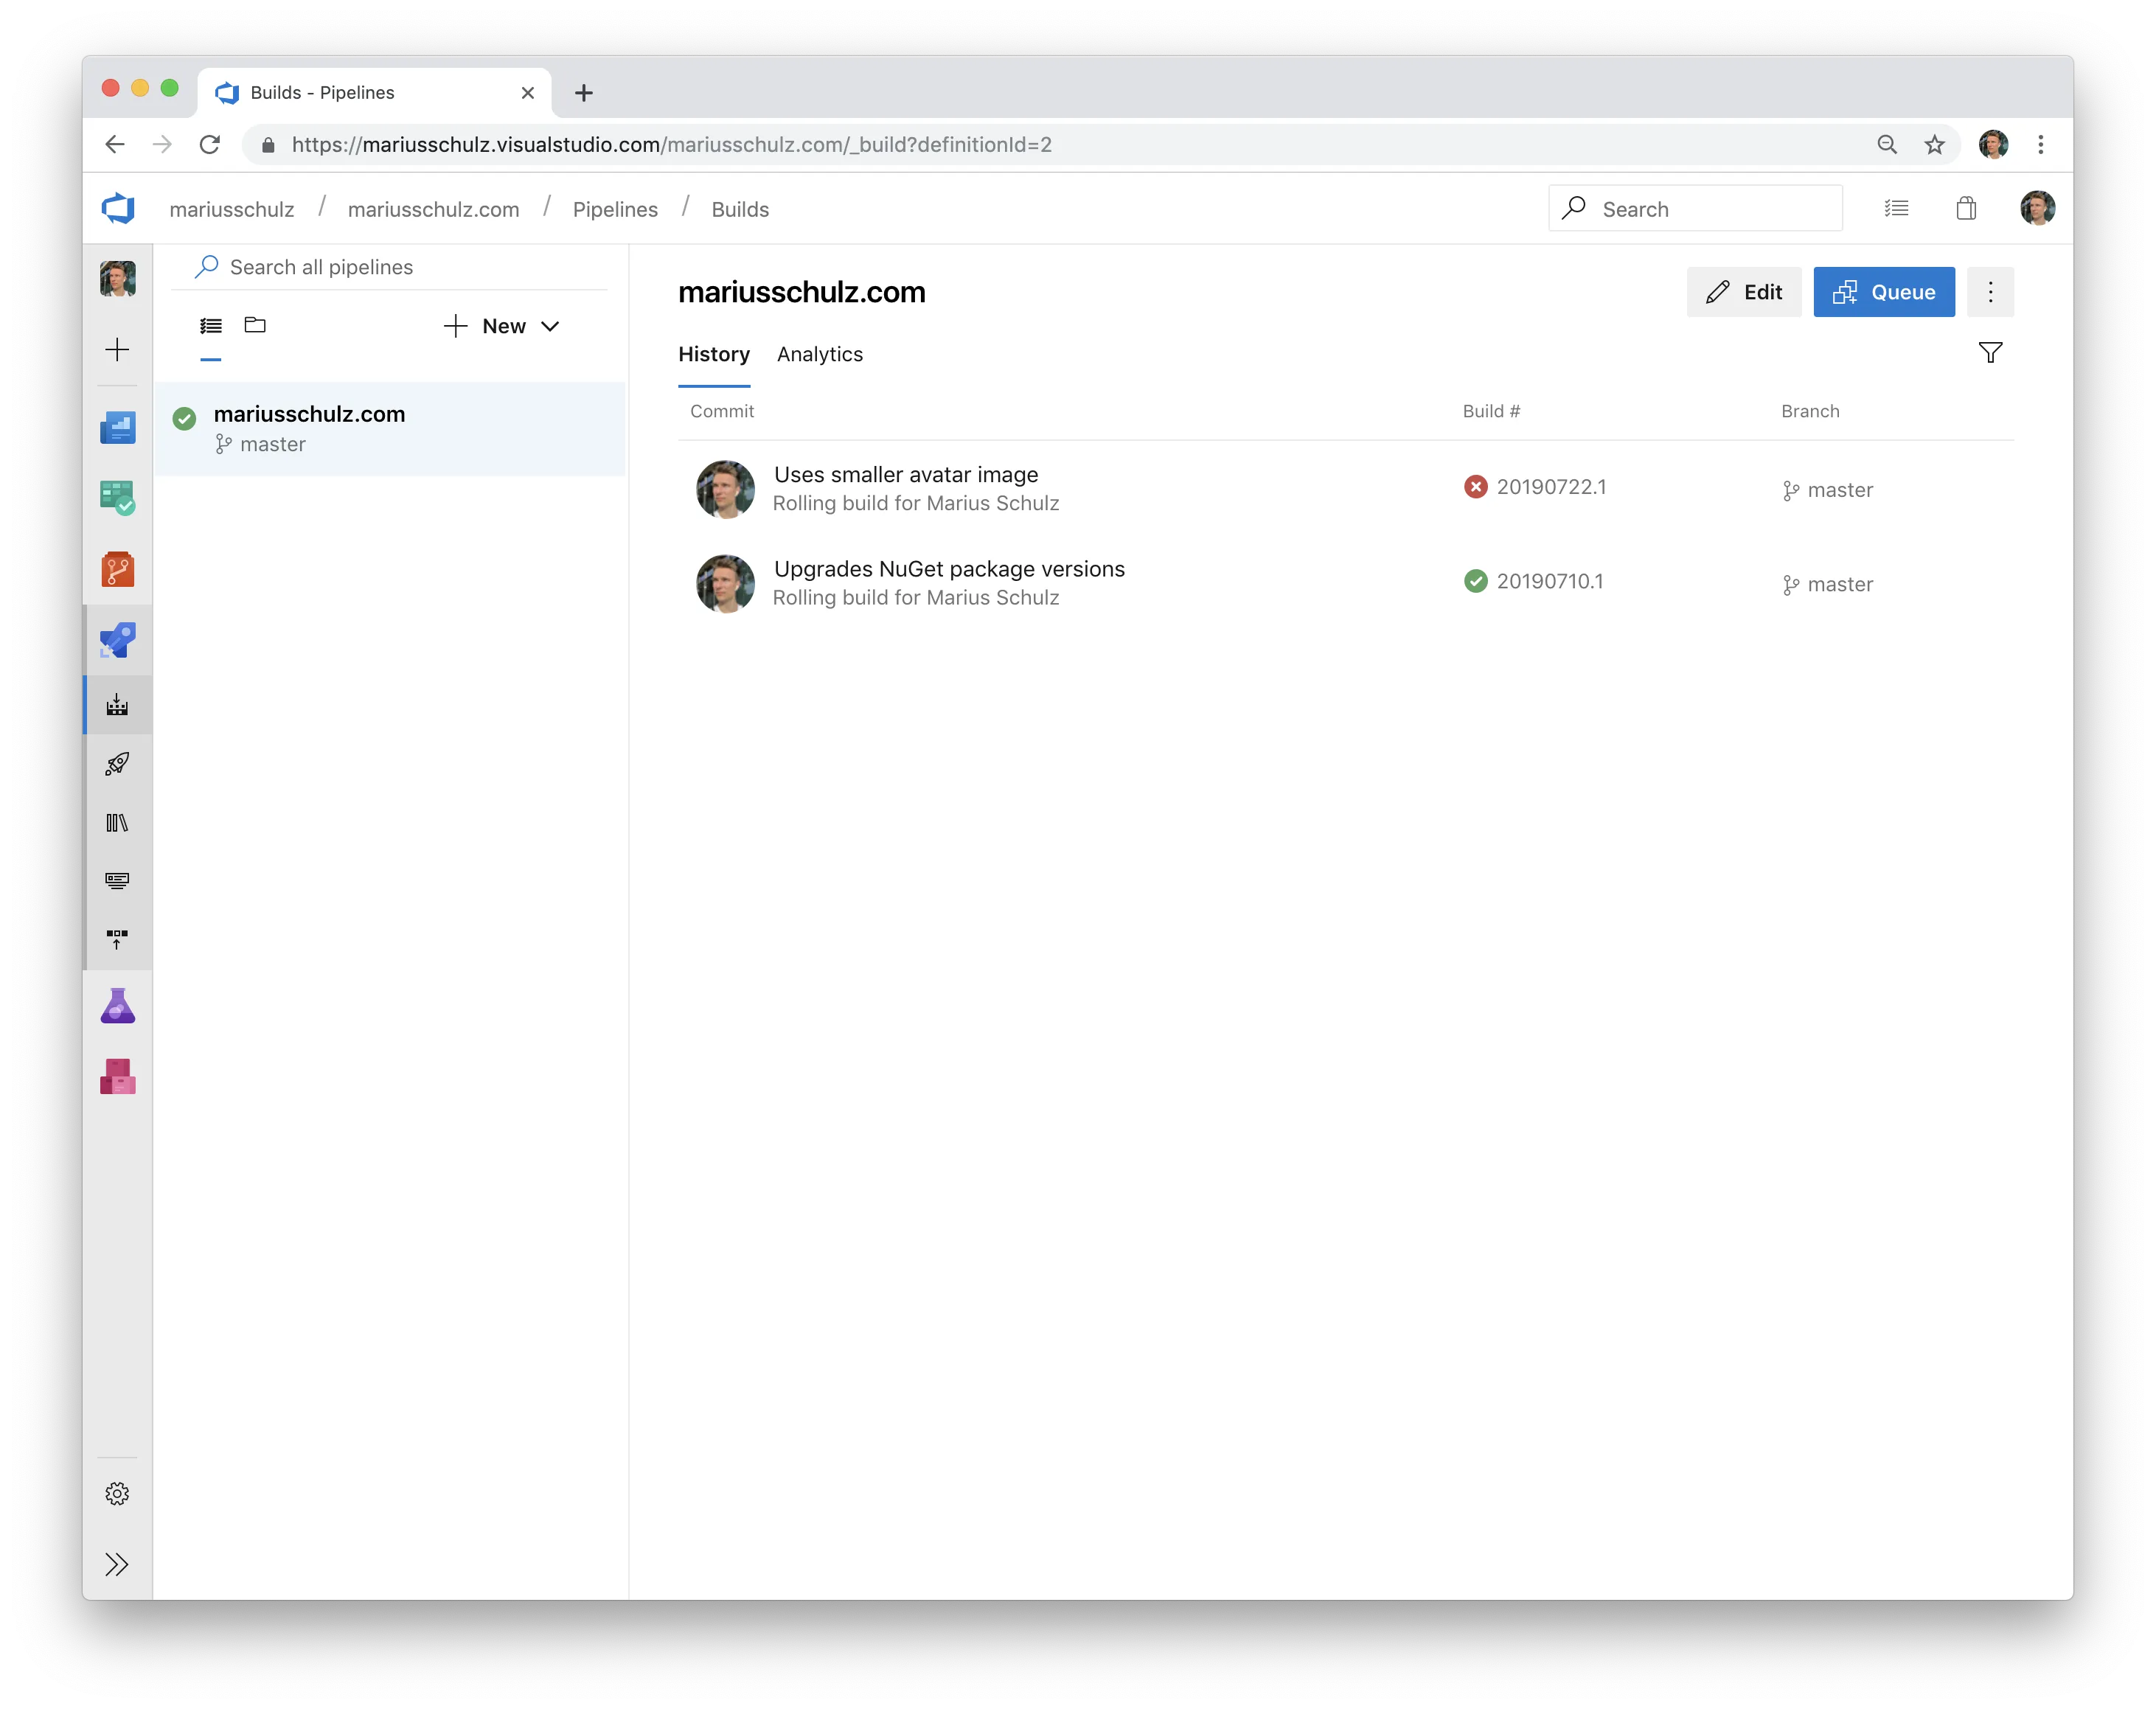
First, navigate to the "Builds" tab of the pipeline in Azure DevOps. In the screenshot below, you can see my failing build listed at the top. Click the "Edit" button in the top right corner of the page:
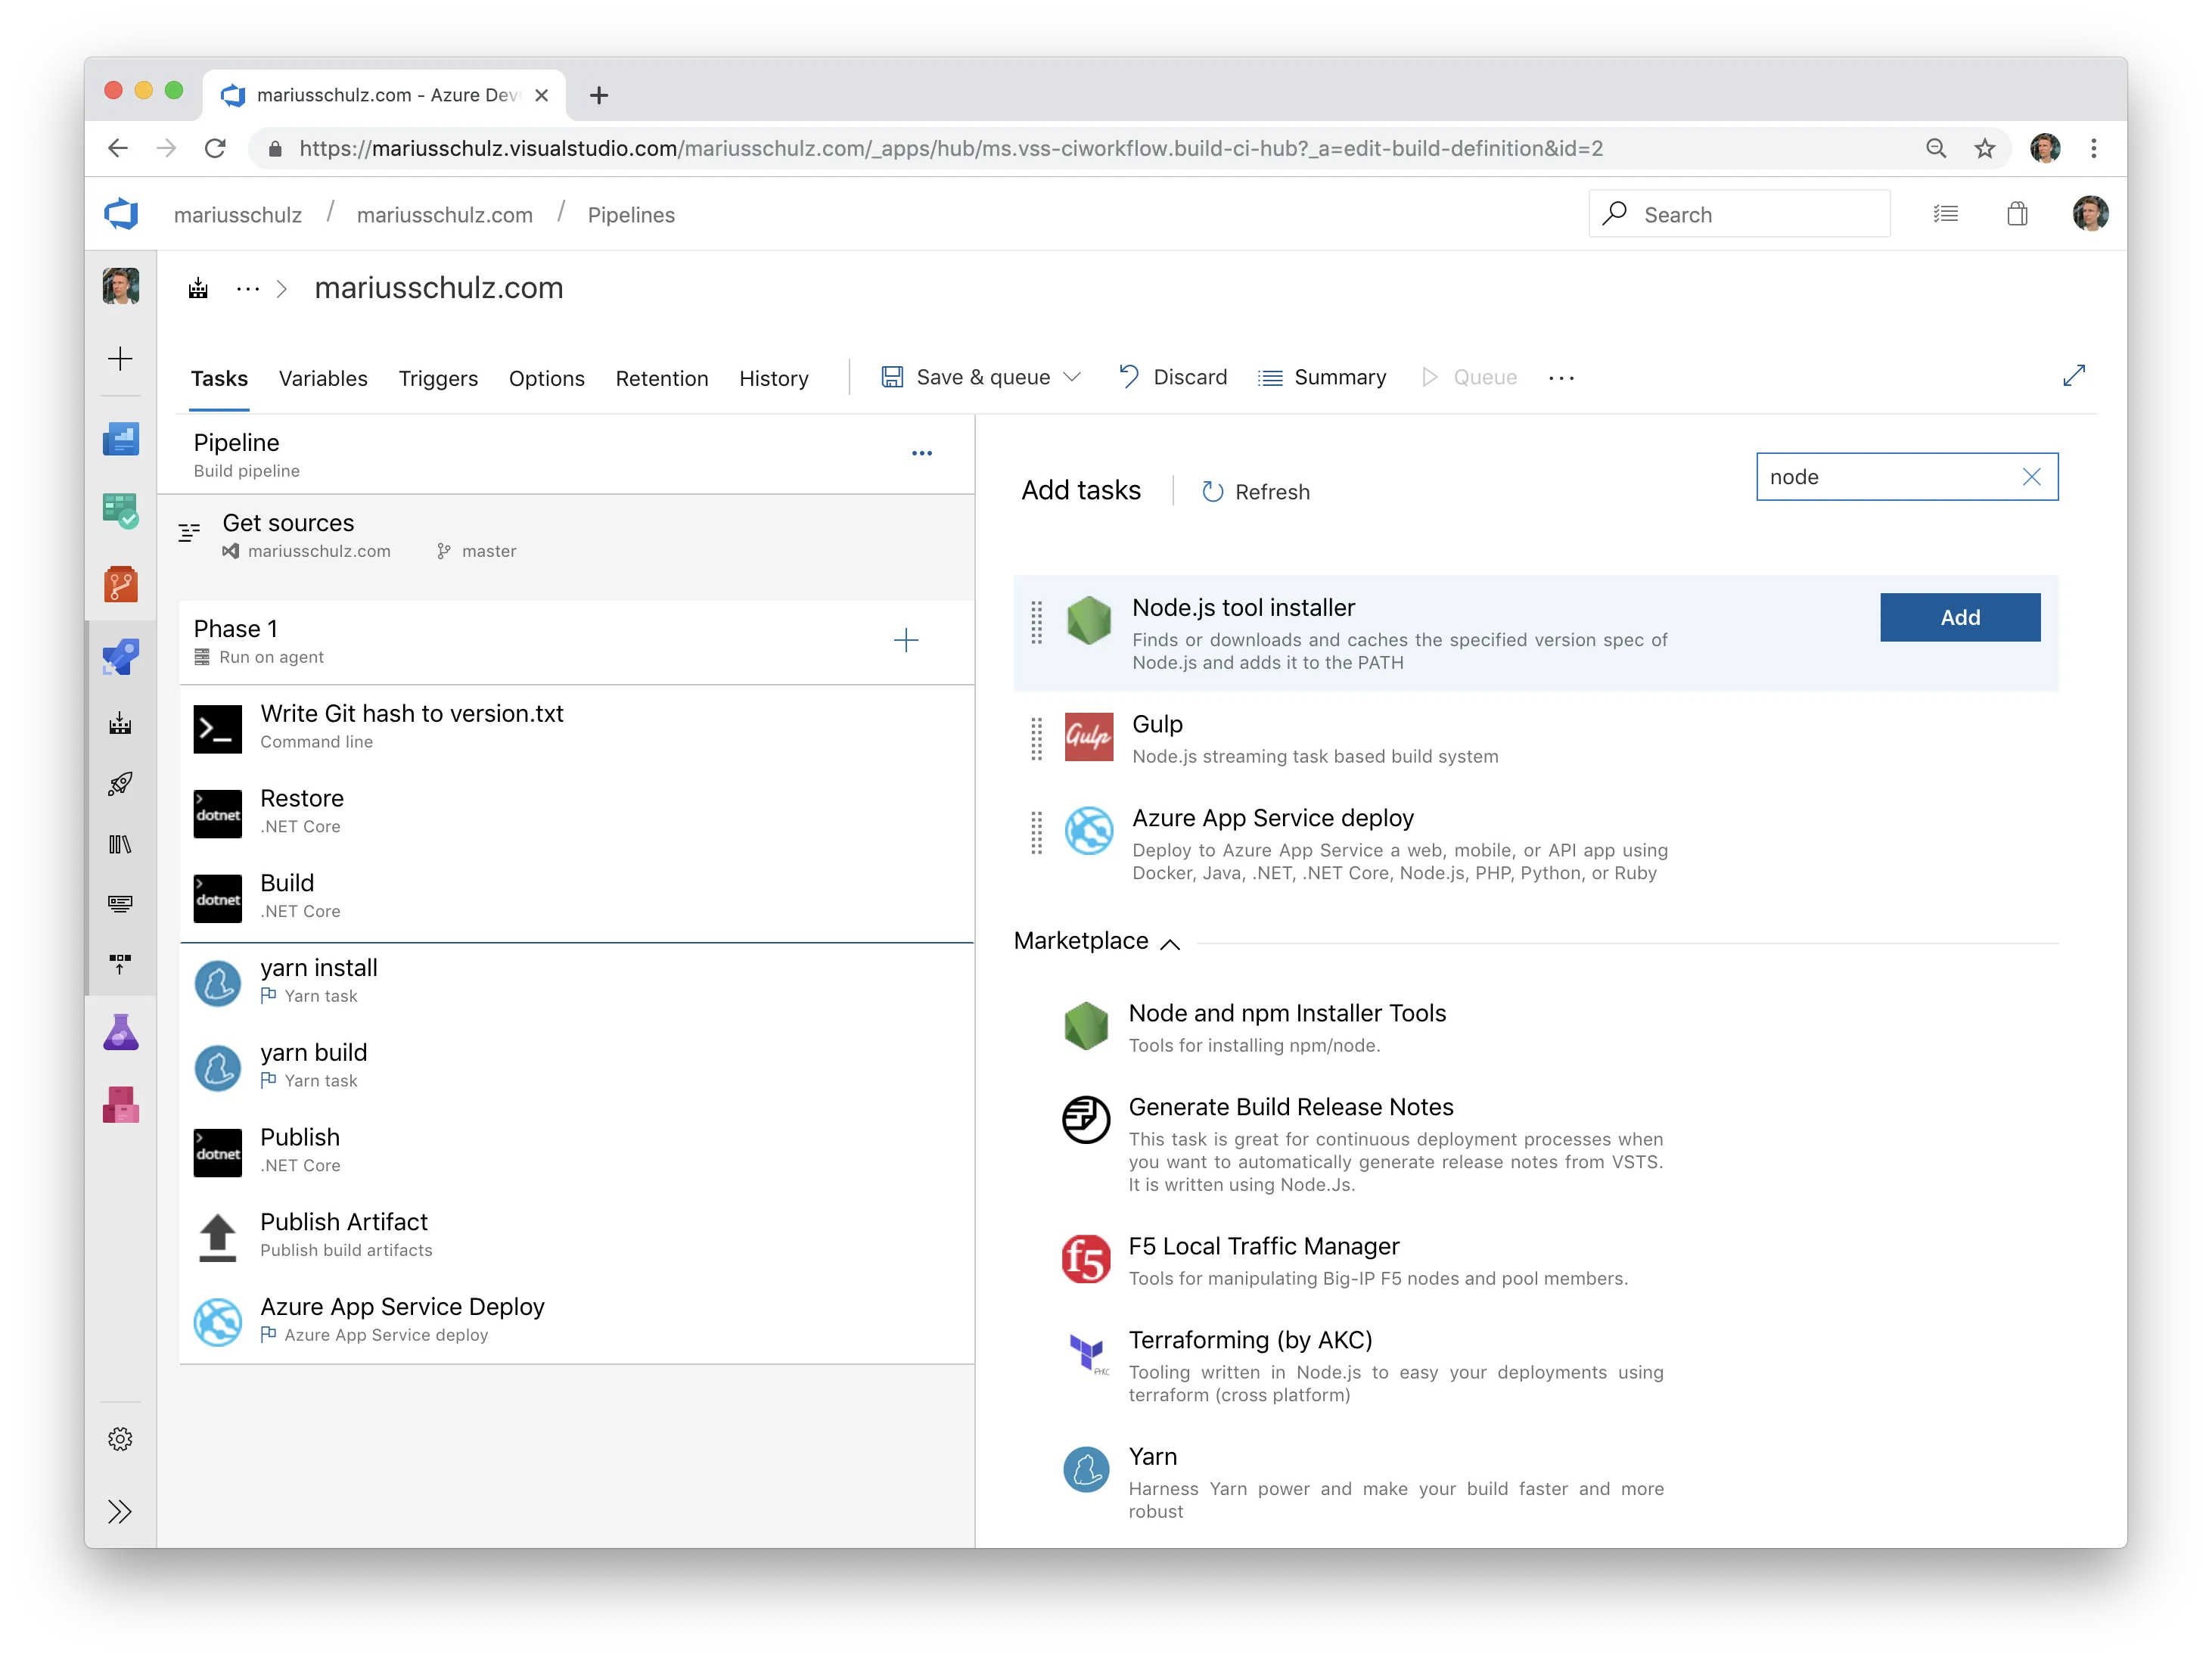
Second, type "node" into the search field to find the "Node.js tool installer" task. This task will download and cache a Node.js version matching a specified version constraint and add it to the PATH so that subsequent tasks will use the desired Node.js version. Make sure you add the Node.js tool installer before the task that failed (in my case, the "yarn install" task running the yarn install command):
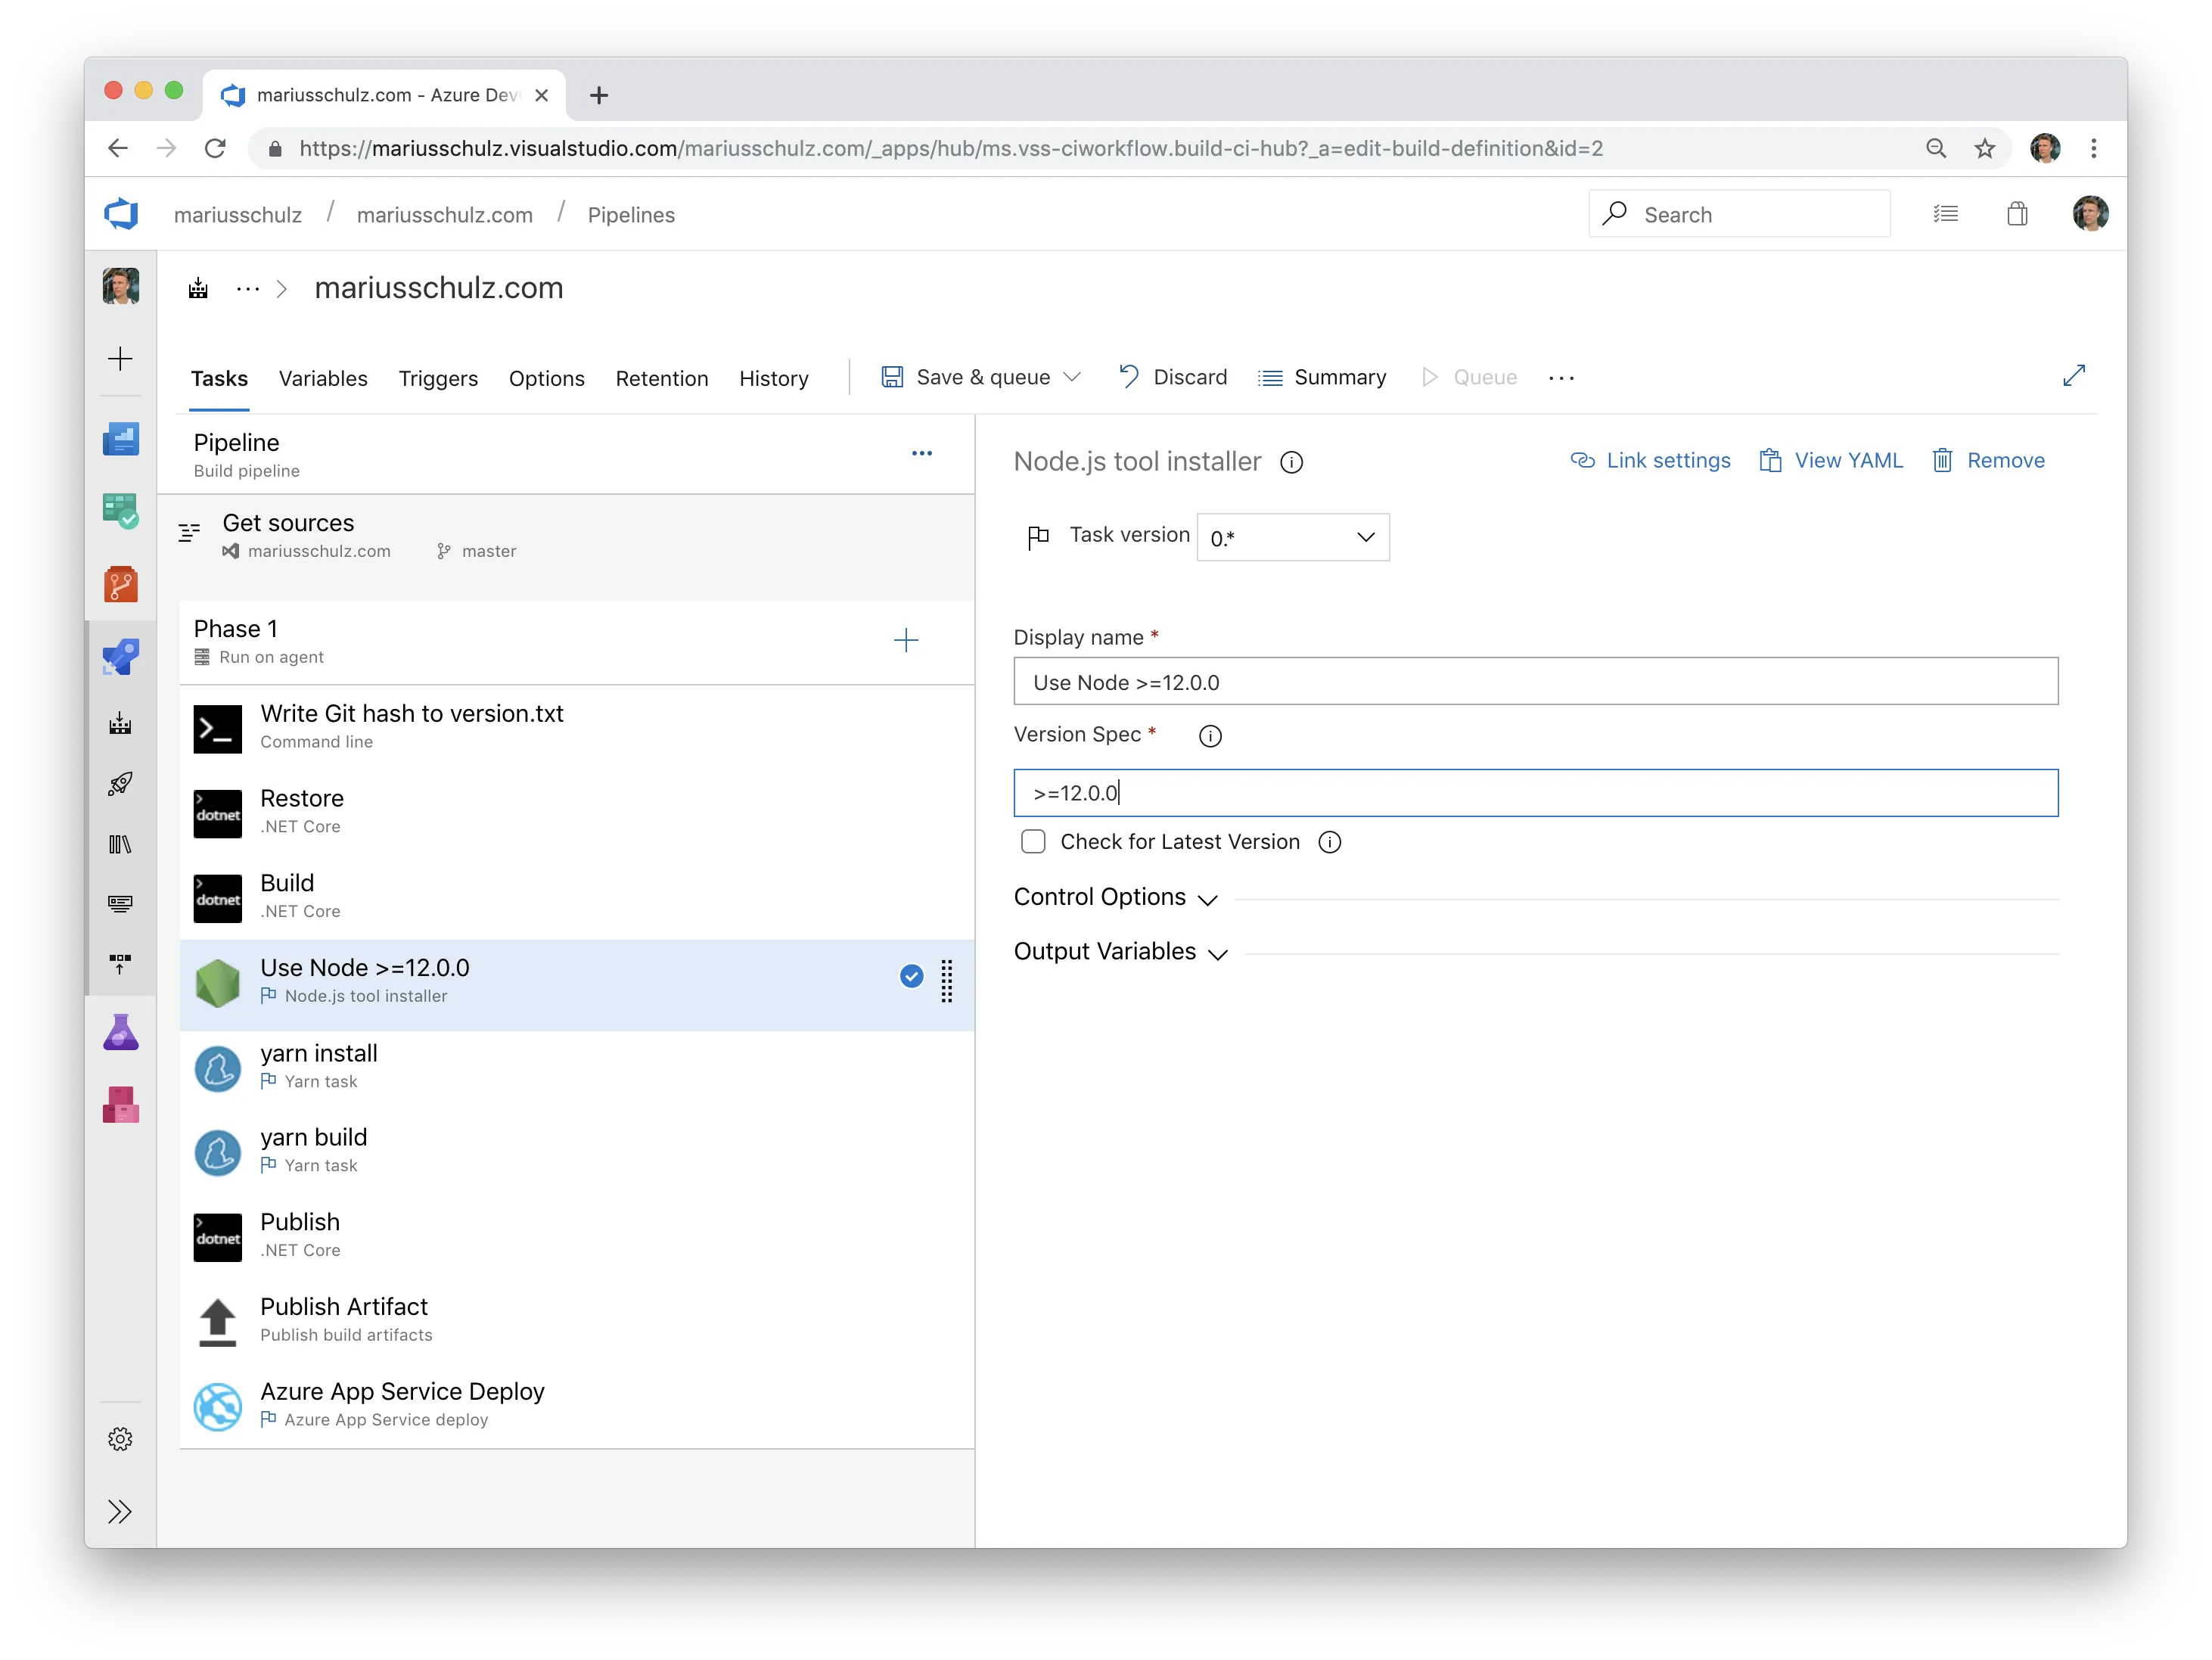
Choose a display name that aptly describes what this task does and specify a version constraint for the Node.js installation. I named my task "Use Node >=12.0.0" and set ">=12.0.0" as a version spec:
Finally, click the "Save & queue" button to persist your changes and enqueue another build. With the Node.js tool installer task in place, the yarn install command should use the correct version of Node.js and complete just fine:
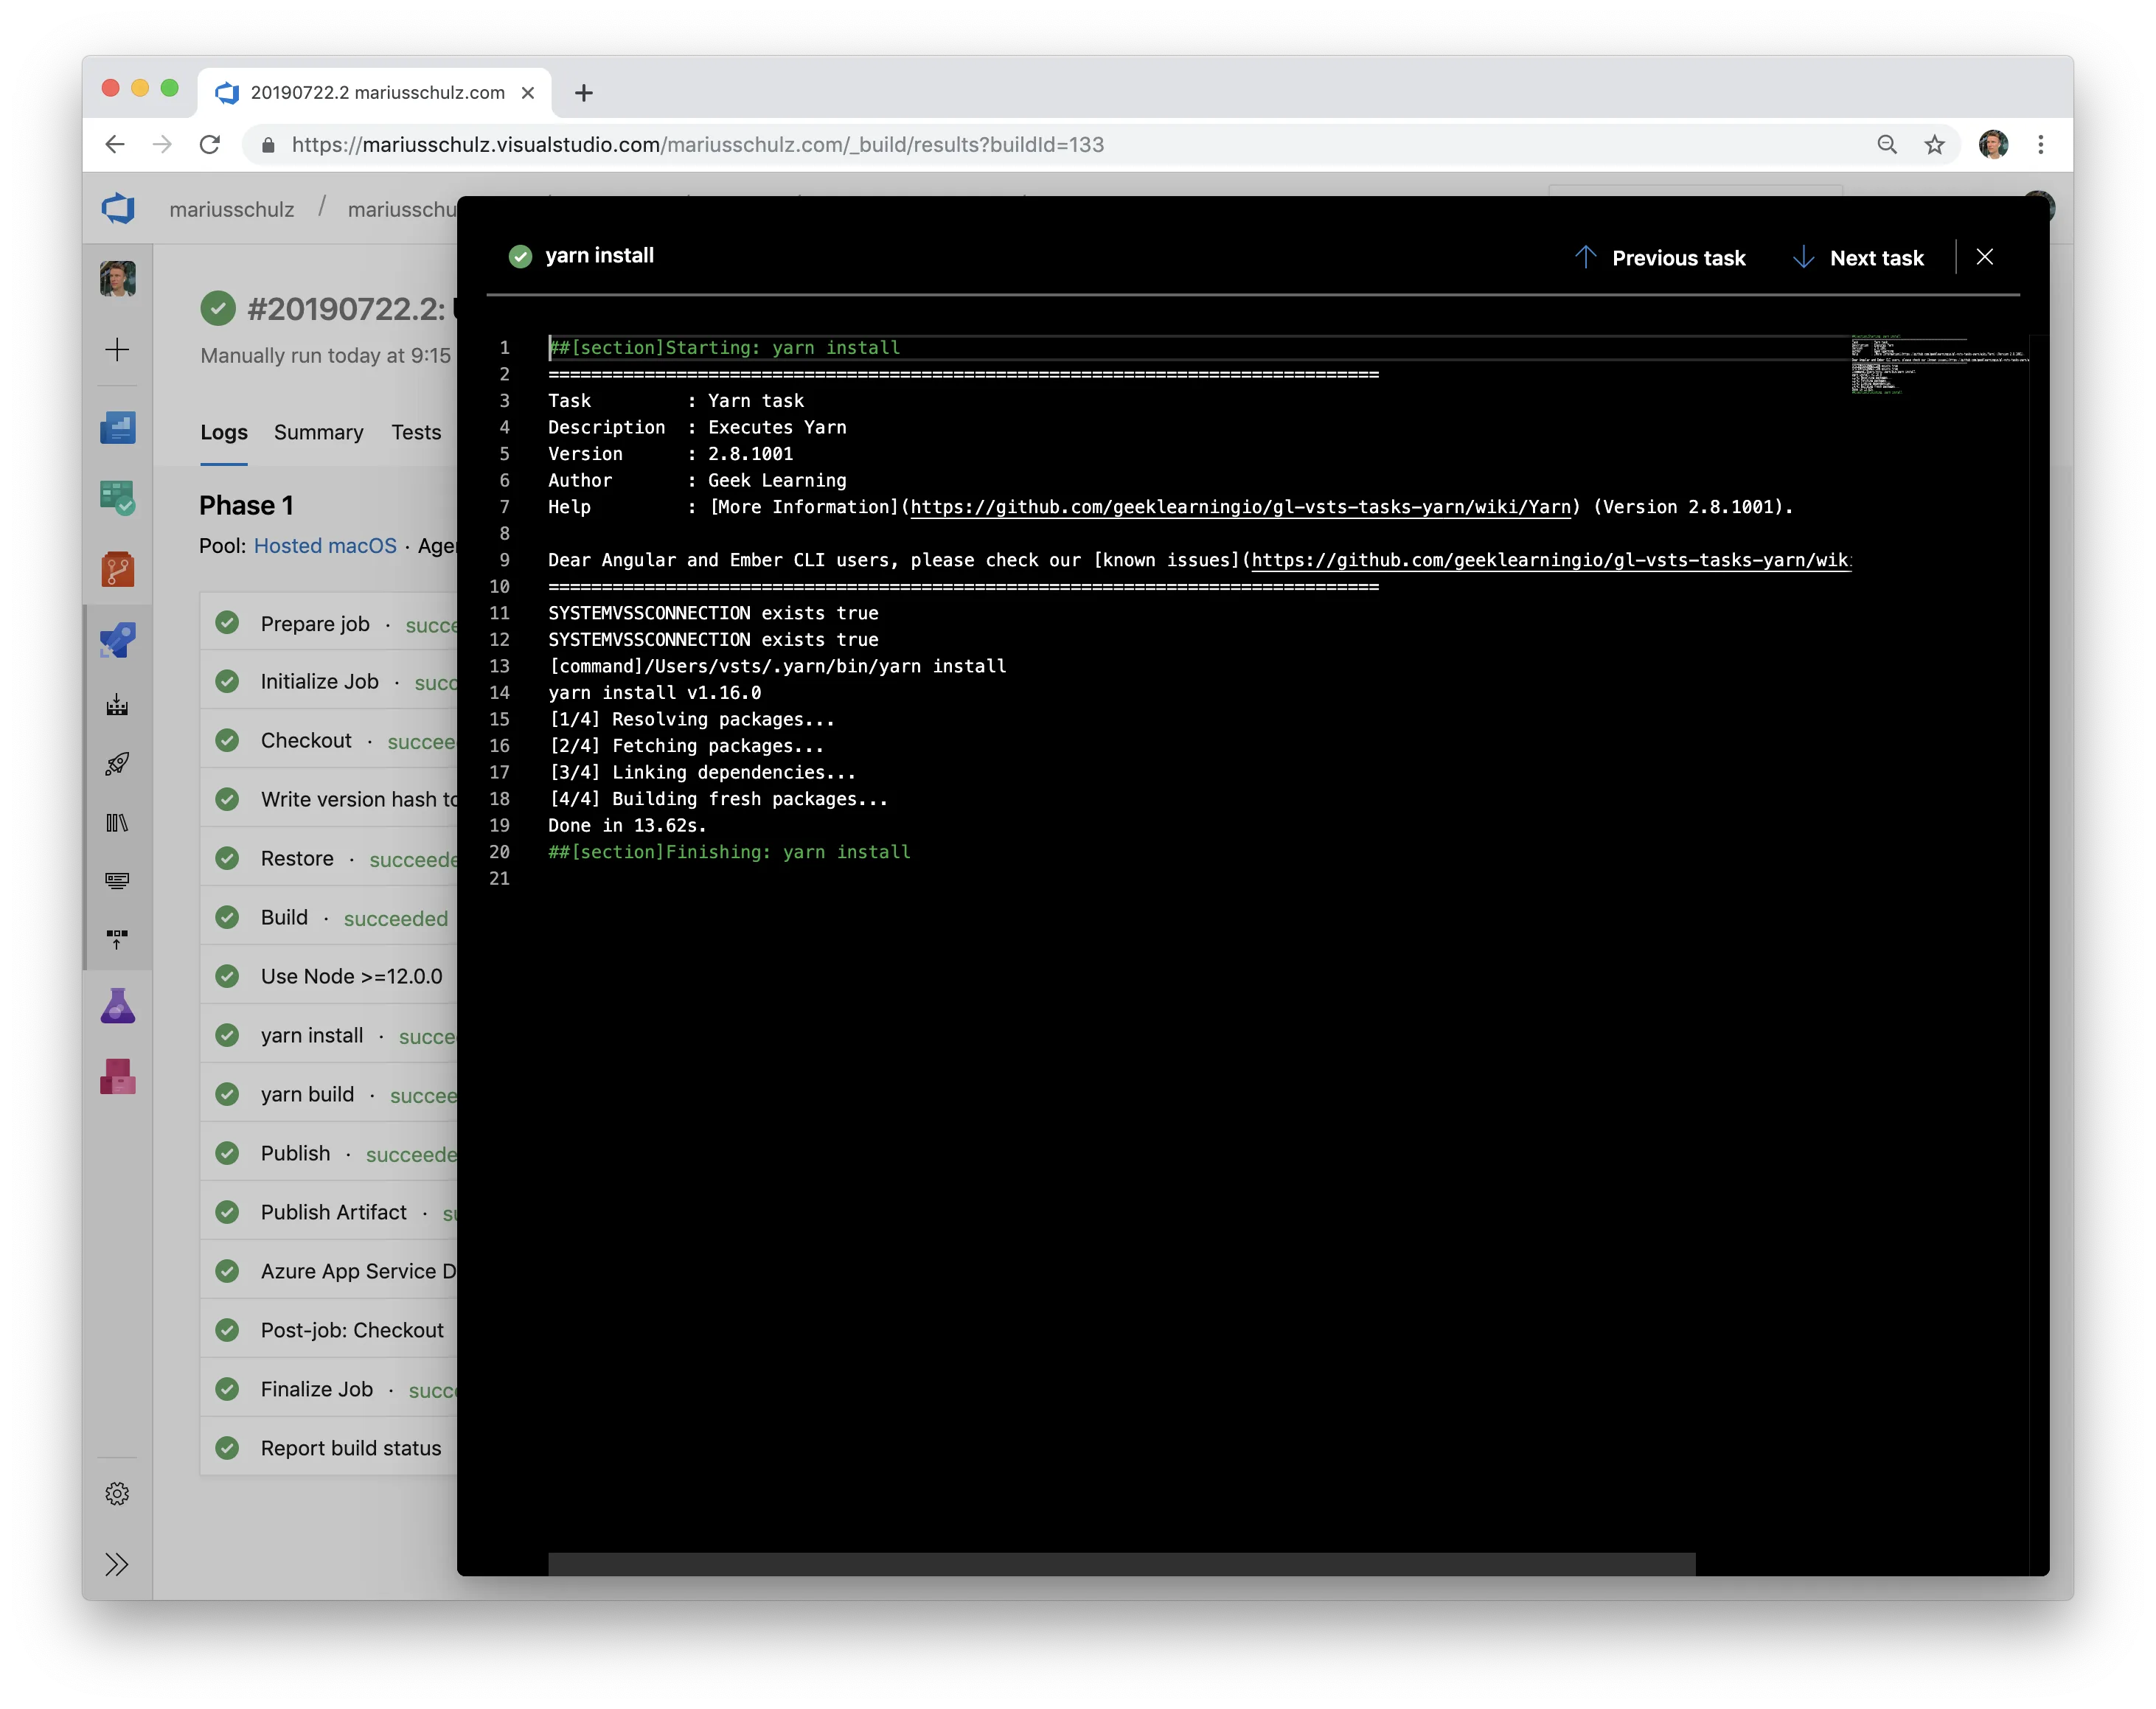
Et voilà, no more build errors!
